
GARDENING WITH JULIA · PRACTICAL GUIDES
Sowing and seedlings in the mountains
Why many plants in my garden start as seedlings
IN THIS GUIDE
Why direct sowing can be hard in the mountains
The calendar starts from planting out
The right potting mix to begin with
Temperature before and after germination
Watering and preventing damping-off
Spring after spring, I tried again and again to sow directly in the ground, as the gardening books recommended. Often the result was disappointing: seeds that didn’t come up, tiny plants that appeared and vanished overnight, beds where, by the end of June, the weeds had a big head start. For a long time I thought I was doing something wrong.
Over time, I understood how much the conditions in my garden in Bran (Brașov County, Romania) matter, at about 770 m (2,500 ft): cold springs, clay soil, rain and slugs. For many of the flowers I want to see blooming in summer, seedlings have become a more predictable solution than direct sowing.
That doesn’t mean every plant has to be started indoors in the mountains. Some species do better sown directly, others self-seed, and many biennials and perennials can be grown in containers outdoors, in the right season. What matters is matching the method to the plant and to your spot.
This guide starts from my experience and follows the path from seed to planting out in the garden. Temperatures and timings are guidelines, not rules for every species. The seed packet and the weather that year have the final say.
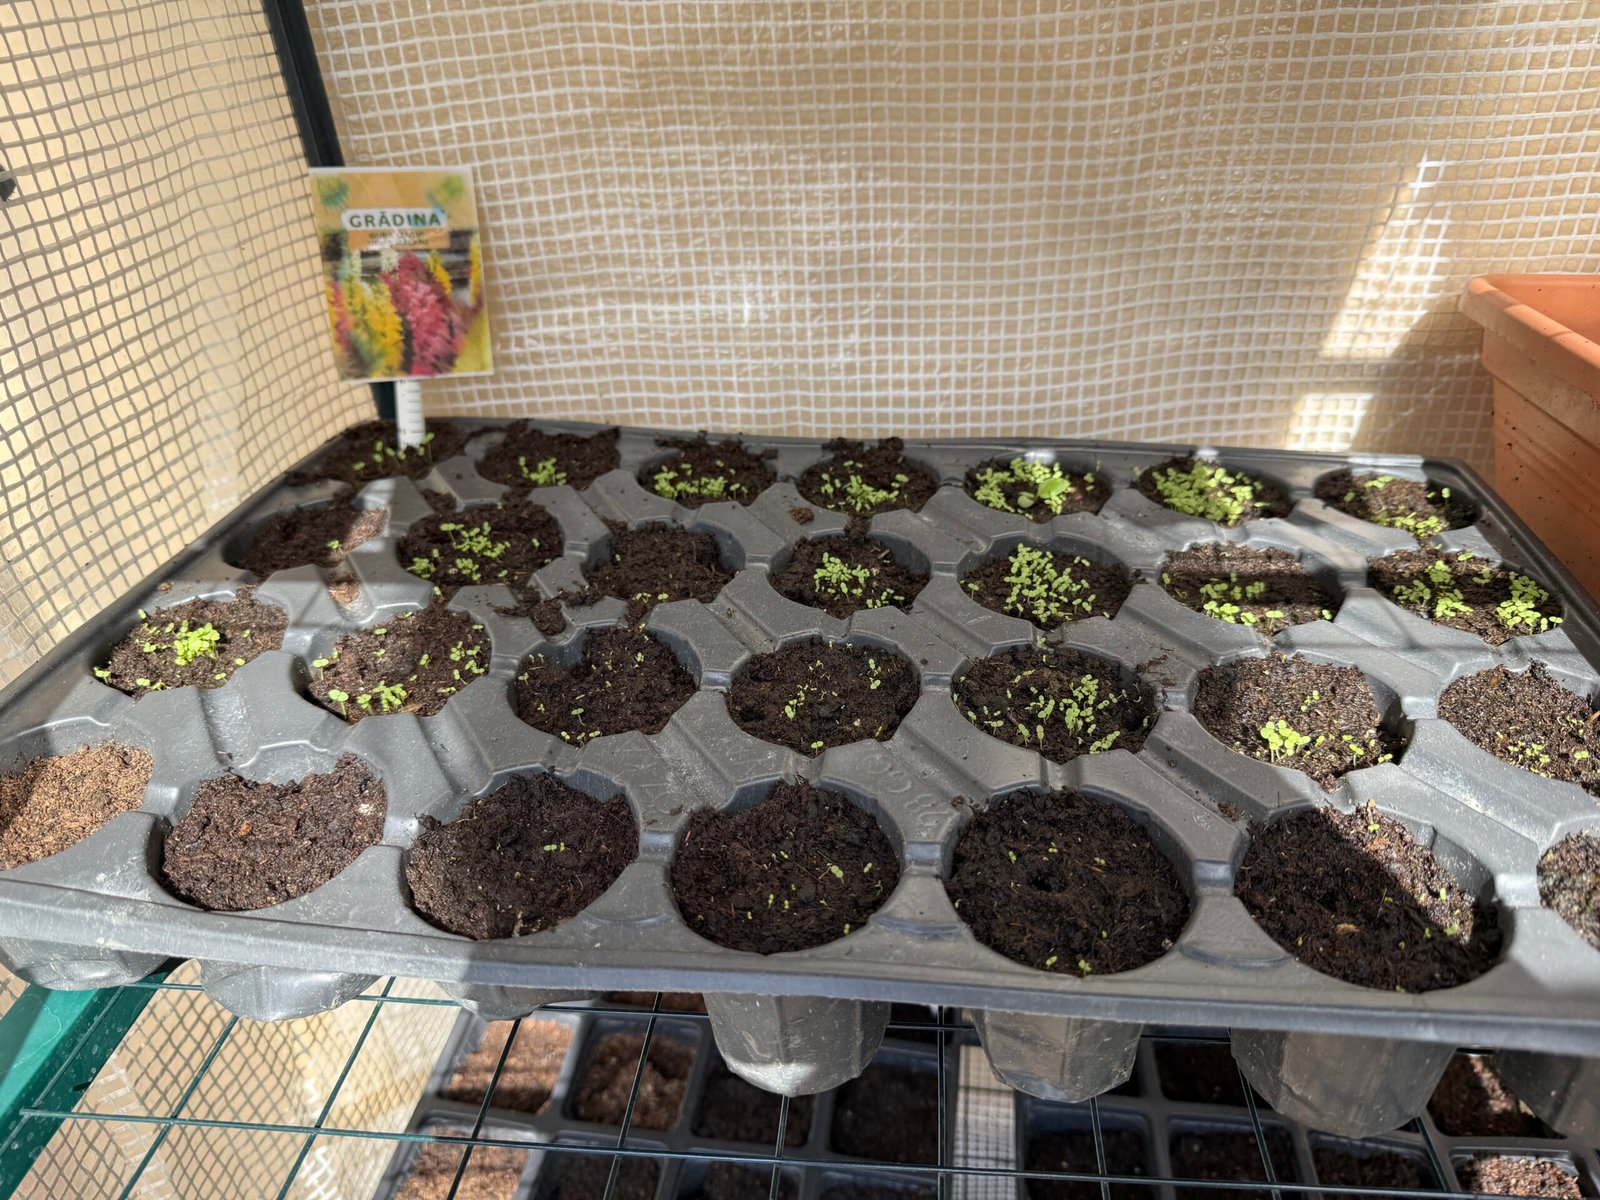
Why direct sowing can be hard in the mountains
For cold-sensitive plants, the useful season can be short. If the soil warms late and frost comes early, there’s less time for growing and blooming. A seedling prepared at the right time goes into the garden with a head start of a few weeks.
Soil temperature matters as much as moisture. A sunny day doesn’t mean the ground has warmed enough. In soil that’s too cold for the species, germination slows, and seeds can rot if the wet persists. A soil thermometer is more useful than a fixed date on the calendar.
Clay soil can form a crust after rain, making it harder for seedlings to break through. At the surface, wind and sun can quickly dry the layer that holds small seeds. Heavy rain can wash them away or bury them too deep.
Snails and slugs can wipe out freshly emerged seedlings in a single night. Sometimes it looks as if the seeds never germinated, when the seedlings have already been eaten. More developed plants sometimes stand a better chance, but they aren’t safe from attack either.
Weeds add competition that’s hard to manage: they take up space, use water and shade the seedlings. In clean containers with the right mix, I can follow germination more easily and step in on time. Not all the risks go away, but they become easier to spot.
When direct sowing is still worth it
In my garden, Sweet William self-seeds and handles the winters well. Plants that come up on their own show me there are other ways besides the tray on the windowsill. Some seeds benefit from the damp cold of winter; others simply come up when they find enough moisture and the right temperature. Not all of them need stratification.
The calendar starts from planting out
Before opening the seed packets, it helps to work out when the plants can go outside. From that point I count back the weeks of growth recommended for each species, including the time needed for hardening off.
Not every flower has to be sown in February. Fast-growing species started too early can end up cramped in pots before the weather allows planting out. Without enough light, sowing a bit later can give better seedlings than sowing very early.
For biennials and many perennials, the goal may be a well-rooted plant by winter, with blooms the following year. With Sweet William, that’s my experience too. With echinacea, the seedlings sown at the end of May grew enormously, while those sown in July are much less developed. A single plant from the first batch started to bloom the same year; I consider it an exception, not a promise for every seedling.
On the label it’s worth noting the species, the variety if known, where the seeds came from and the sowing date. The date they came up and the planting-out date gradually build a calendar adapted to your own garden.
The right potting mix to begin with
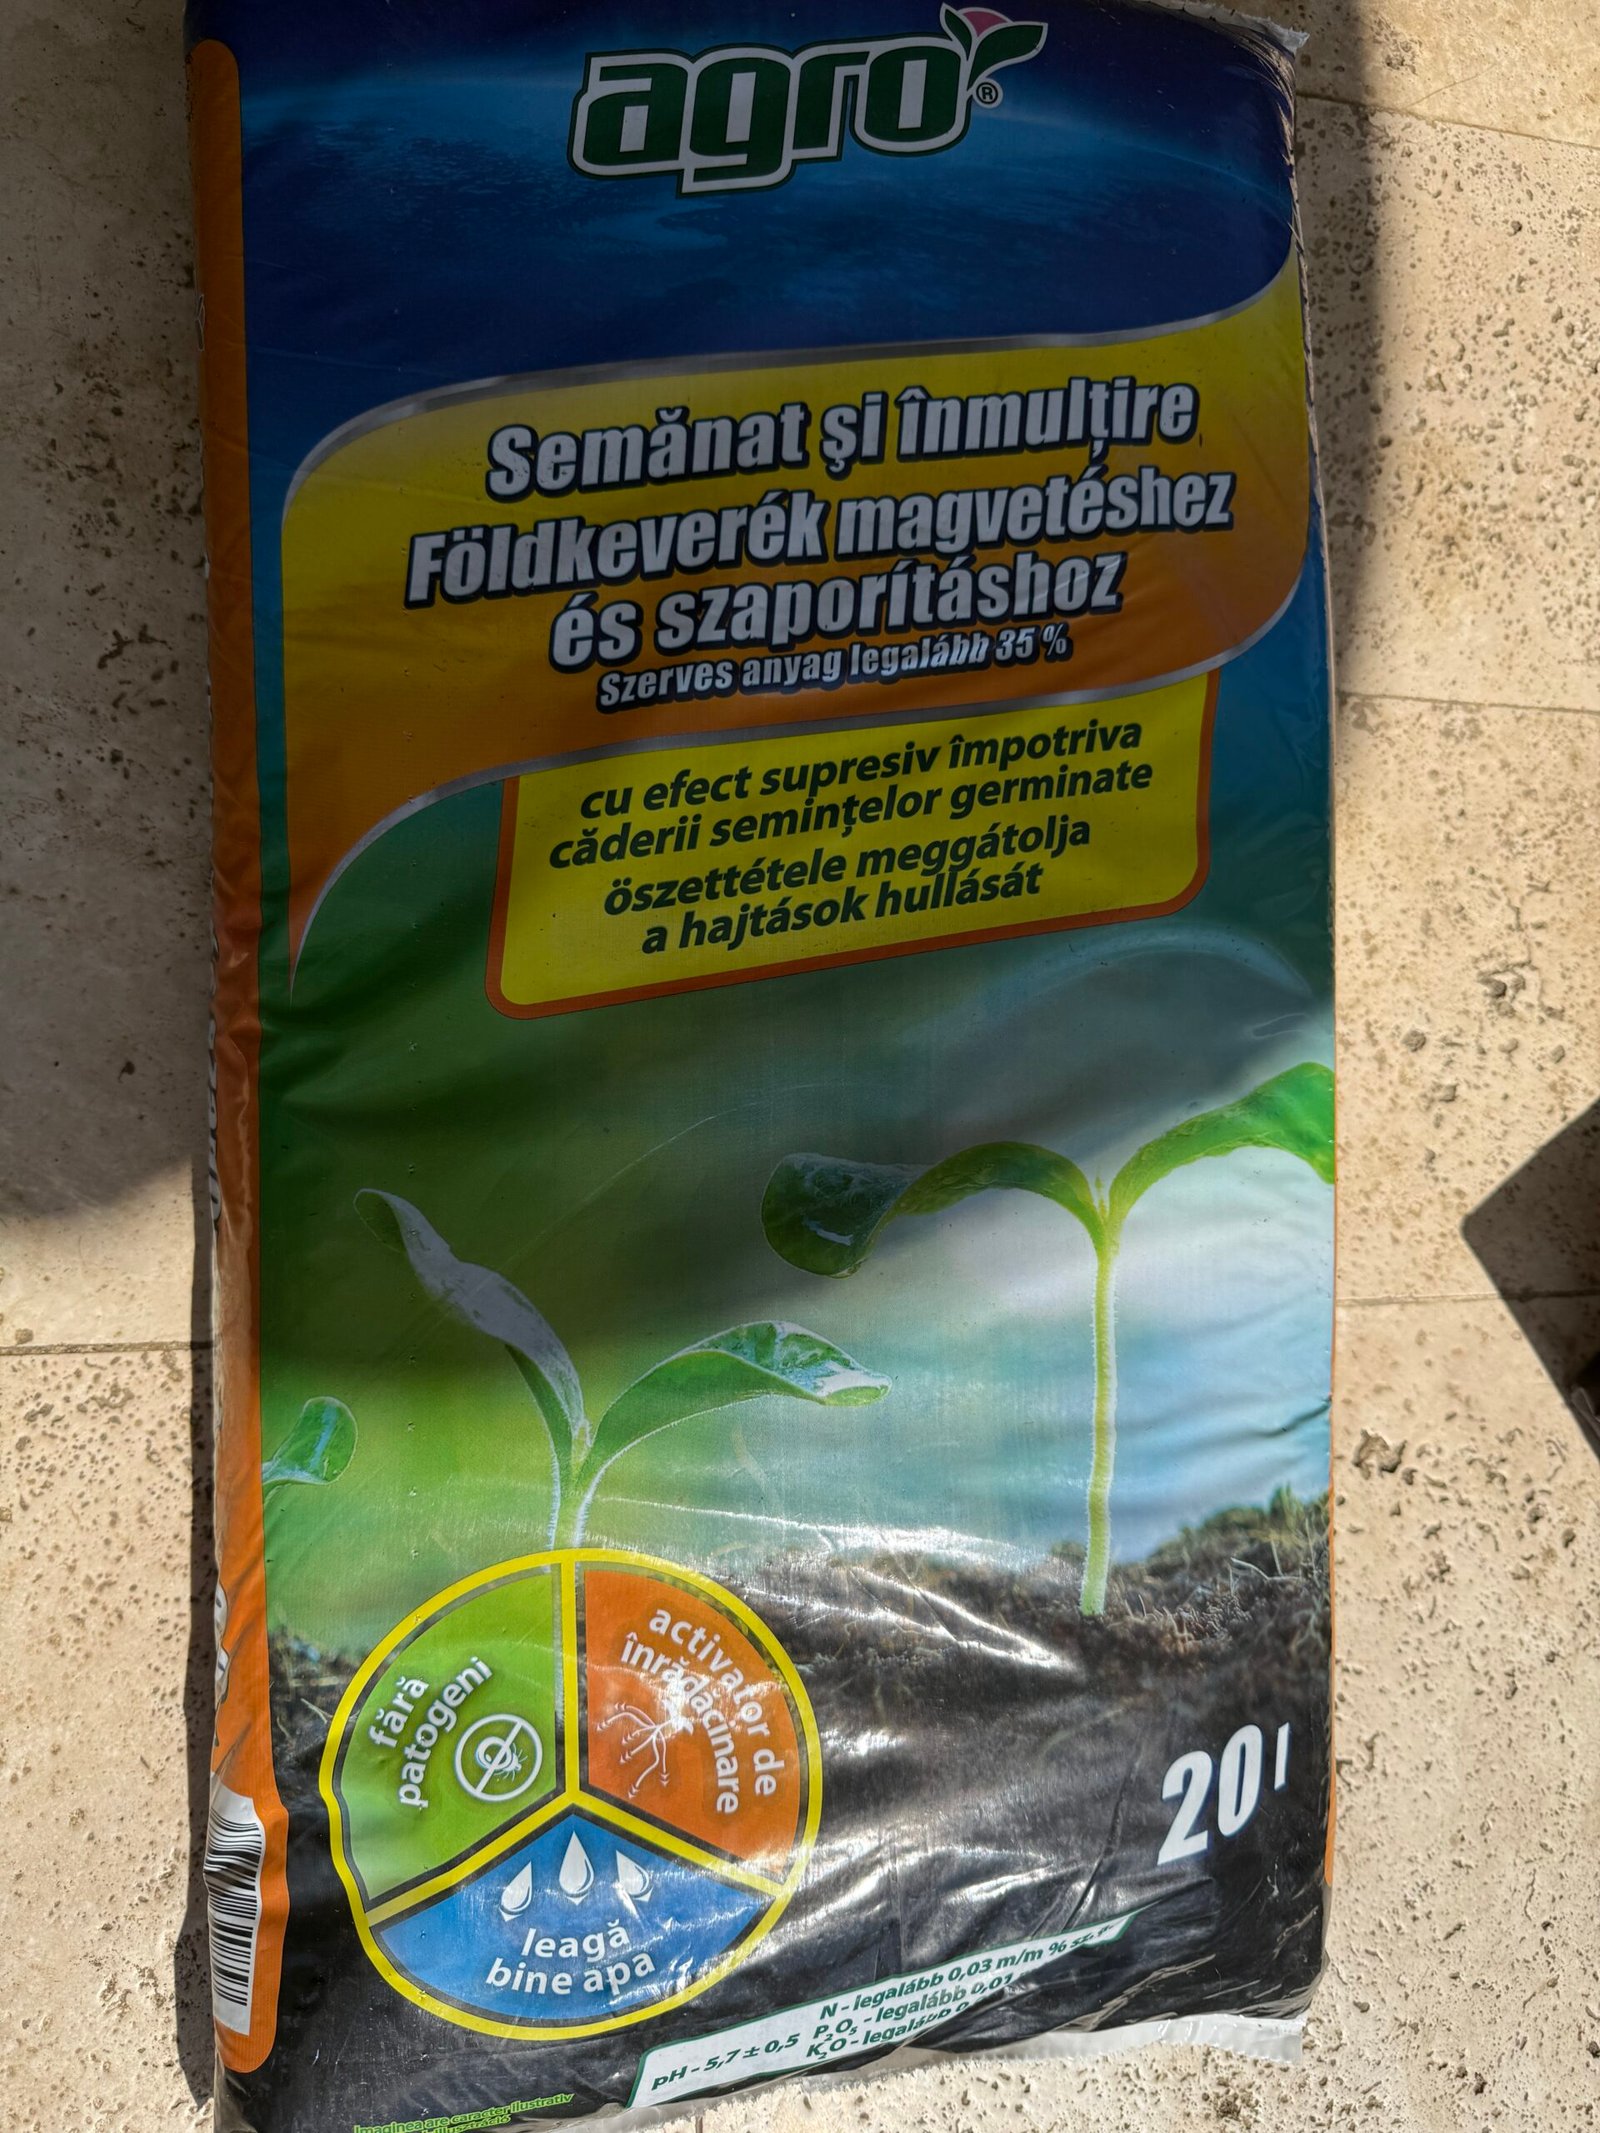
Clay soil from the garden isn’t a good choice on its own for trays: it can compact and may bring in weed seeds or pathogens. To start, the simplest option is a fresh seed-starting mix with a fine, airy structure and good drainage.
It doesn’t have to be completely free of nutrients. Some commercial mixes already contain a starter fertilizer. What matters is avoiding very rich mixes, too much salt and extra feeding without knowing what the mix contains.
If you make your own mix, use clean components suitable for horticulture and adjust the proportions to how they hold water. A single recipe of peat, coir, sand or perlite doesn’t work the same in every container. For precious seeds or sensitive species, a purpose-made seed-starting mix remains the easier option to control.
Moisten the mix before filling the containers, until it feels like a well-wrung sponge. No water should run out of it. Fill the trays and level them lightly, without pressing hard.
I don’t recommend heating soil in the kitchen oven as a general rule. Heat treatment requires controlling the temperature inside the mix, and overheating can create other problems. A fresh mix meant for seedlings avoids this step.
After pricking out, plants can move into a growing mix. Mature, sifted compost can go into some mixes, but its quality and strength vary; it isn’t required and doesn’t replace checking what the plant needs.
Containers and hygiene
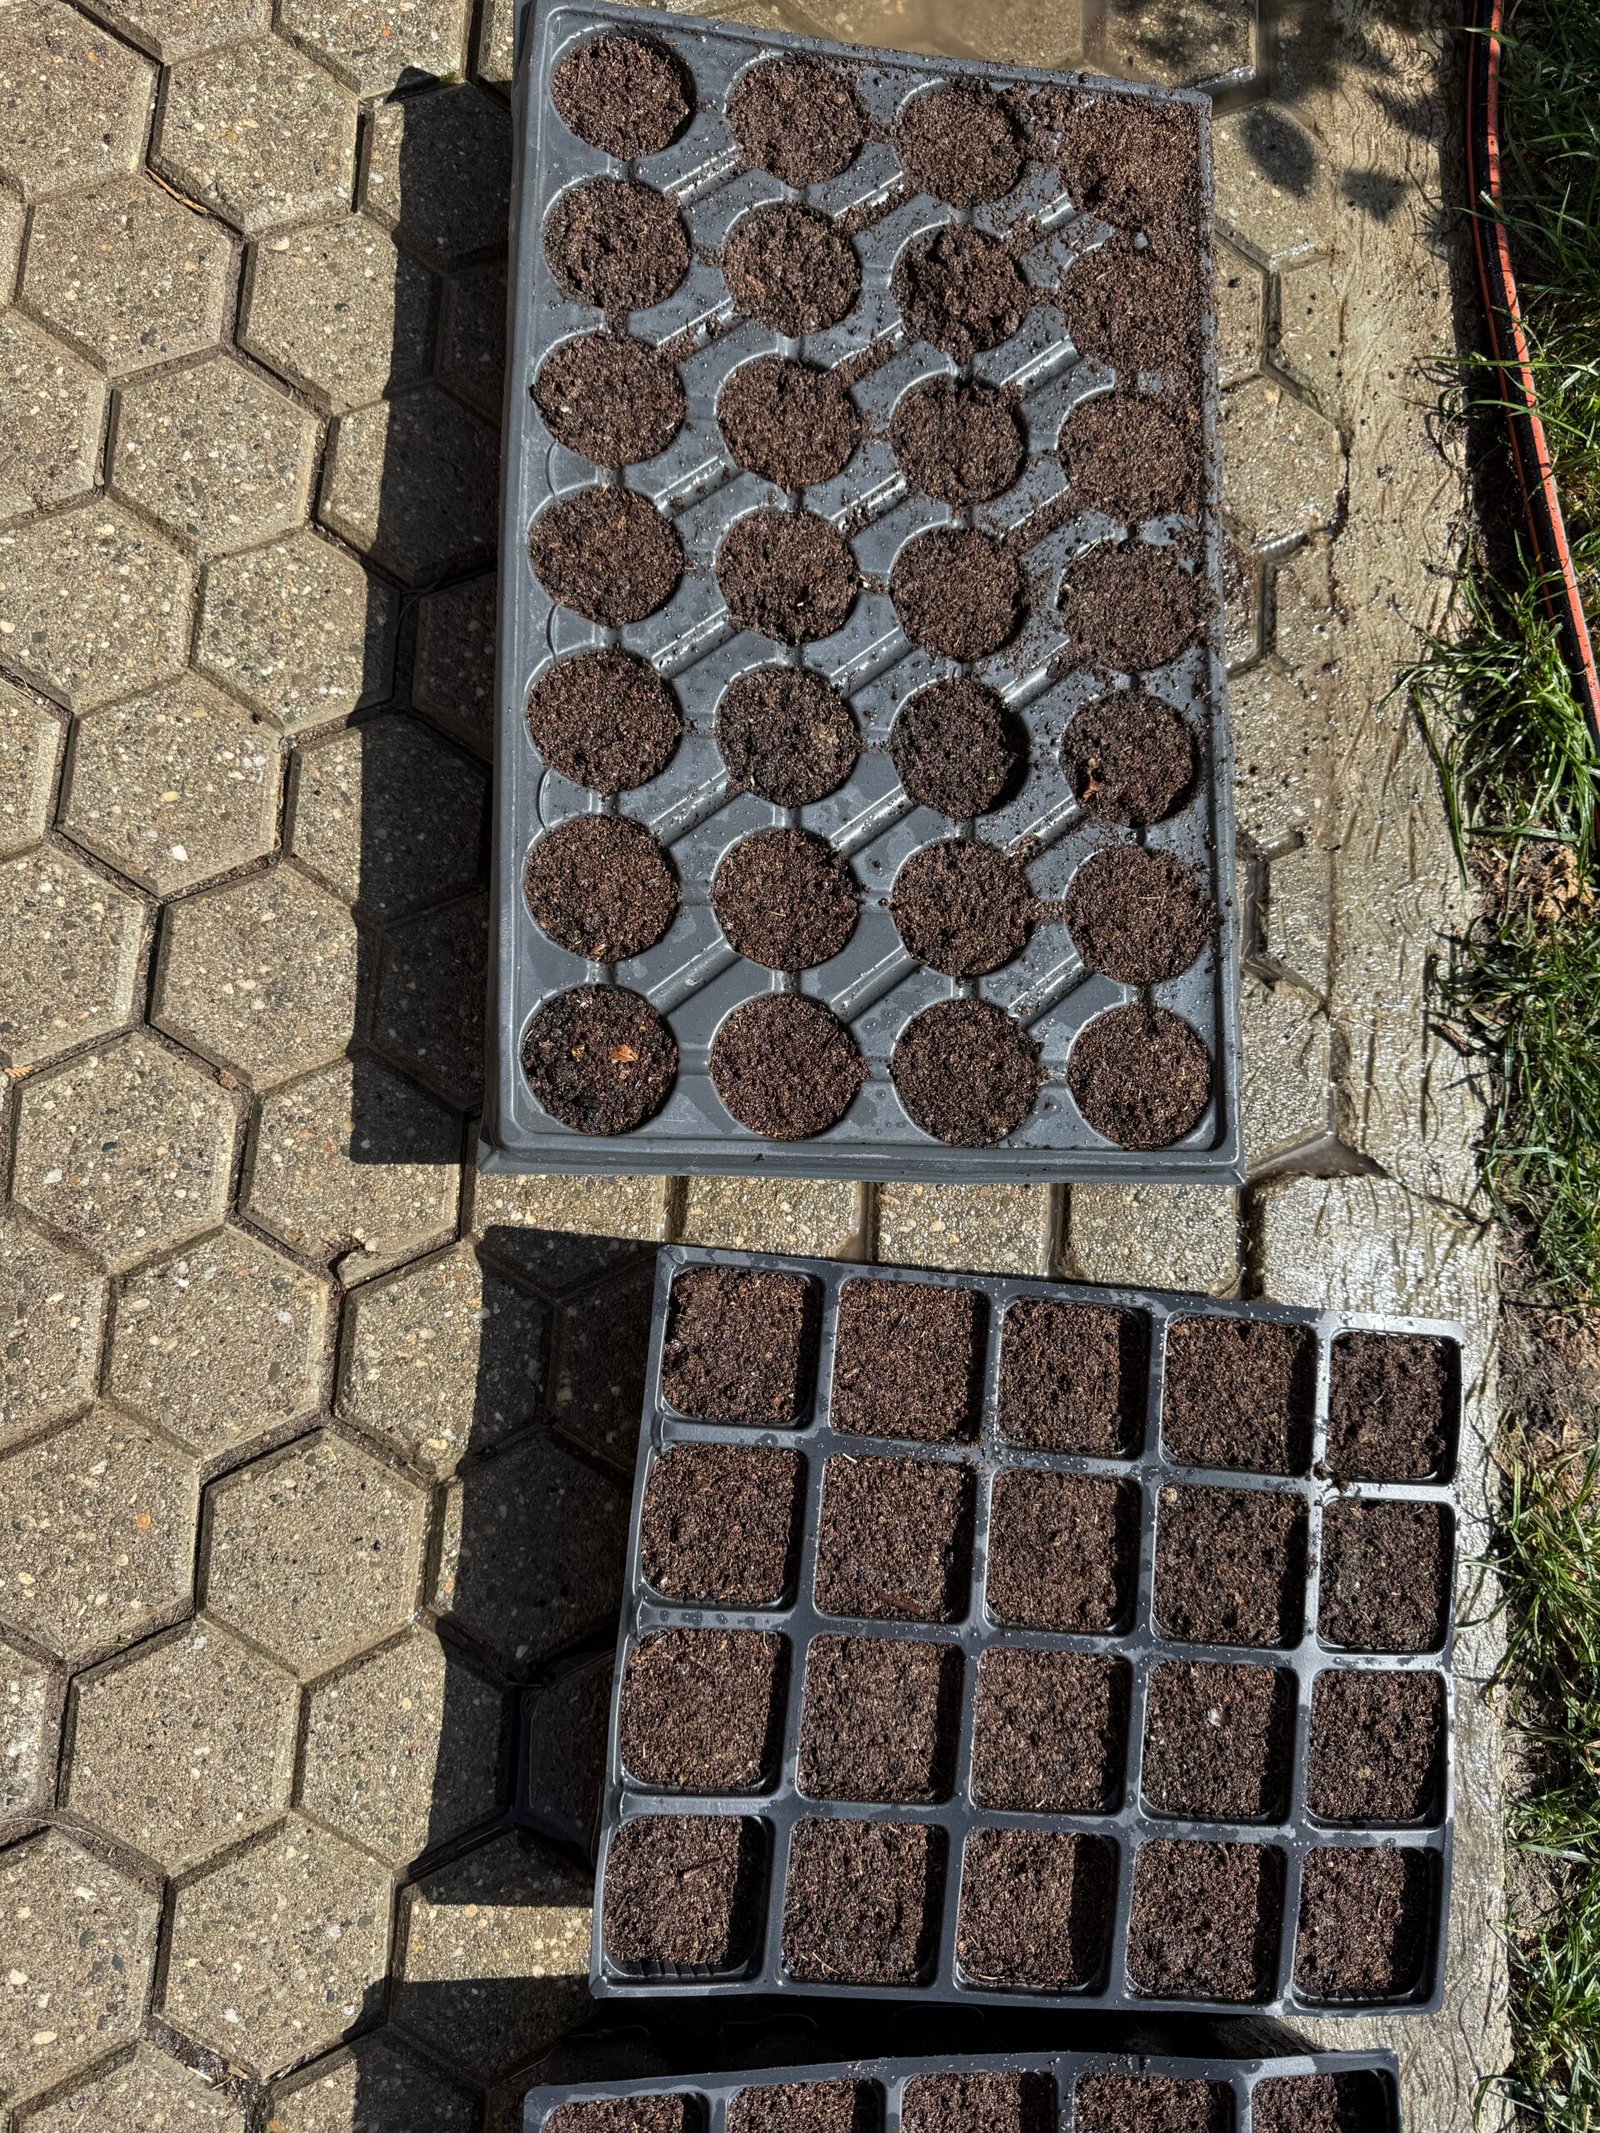
Containers need drainage holes, should be clean and should give the roots enough room. For many flowers, a tray about 5–7 cm (2–3 in) deep can be a good start, followed by moving into pots. Species with long roots or that dislike transplanting need deeper containers or individual sowing from the start.
Cell trays make transplanting easier because they keep the roots in a small plug of mix. But very small cells dry out quickly and mean moving the plants sooner. Choosing them also depends on how long the seedlings will stay in them.
Reused containers are cleaned of debris, washed and, if needed, disinfected with a suitable product, following the instructions. A tray underneath is useful for watering, but it shouldn’t keep water around the pots all the time.
How to sow the seeds
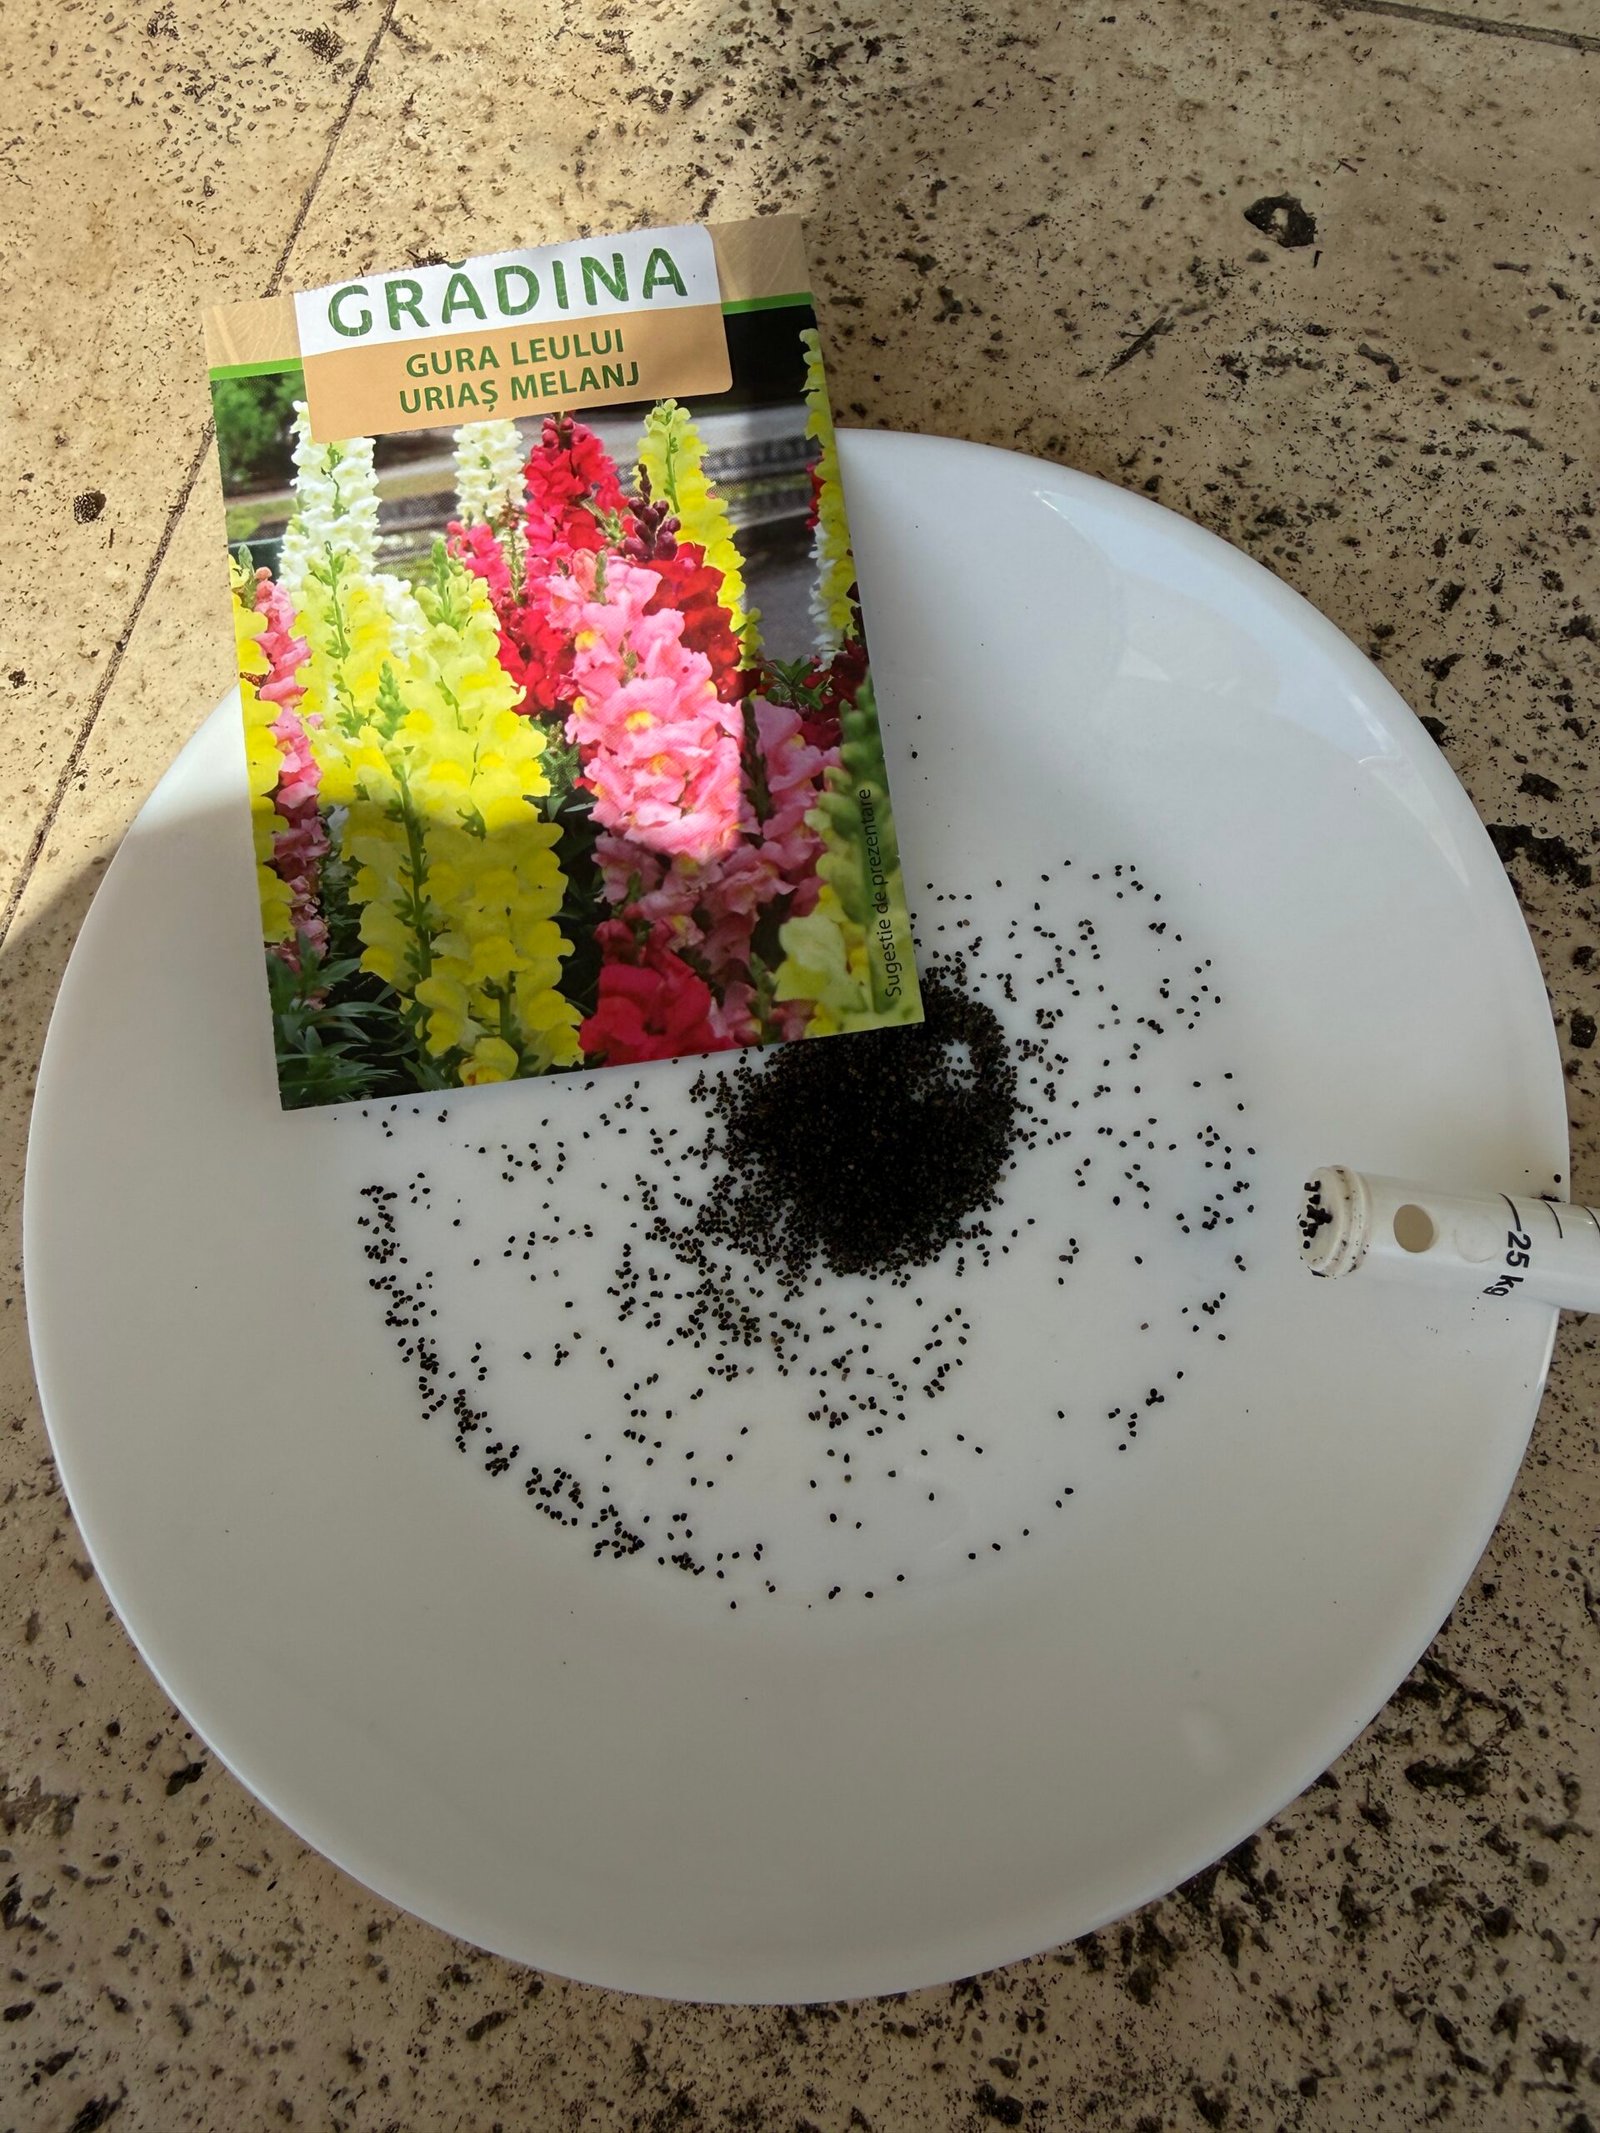
Read the packet before sowing. Depth, temperature, germination time and any pretreatments vary a lot between species. Coated or pelleted seeds may have their own watering instructions.
For many seeds, covering them with a layer about twice their thickness is a guideline. Very fine seeds that need light to germinate are sown on the surface and pressed in lightly. Snapdragons are an example; cover them only if the variety’s instructions allow it.
Sow thinly, so the seedlings have room and can be separated without breaking too many roots. You don’t need to use the whole packet in a single tray.
Watering from below helps avoid moving the seeds. Let the mix soak up water, then pour off the excess. You can also water from above, with a very fine rose or a suitable mister, without a strong jet and without soaking. The method matters less than measuring the water and drainage.
A clear lid can help keep moisture in before germination. Check daily and remove it when the seedlings appear. Don’t leave a covered tray in direct sun: the temperature can rise quickly.
If germination is late, check the species’ normal timeframe, the temperature and the moisture before declaring the seeds lost. Some perennials germinate slowly or unevenly.
Temperature before and after germination
The germination temperature isn’t always the same as the right temperature for growing seedlings. Many summer flowers start well in moderately warm mix, but there are also flowers that germinate better in the cool. I don’t use a single temperature for every packet.
After germination, too much warmth relative to light can encourage legginess. For species that handle cool conditions, a bright, somewhat cooler spot can be better than a very warm room. But cold-sensitive plants shouldn’t automatically be moved to the coldest room.
If you use a heat mat, check the temperature of the mix and reconsider whether you need it after germination. Don’t keep it on out of habit, but don’t chill the roots of a heat-loving species too much either. A thermostat and a thermometer help more than guesswork.
Light for early seedlings
In February and early spring, light can be the main limit for seedlings kept indoors. A room that’s bright to our eyes doesn’t necessarily give plants enough light, especially away from the window.
A well-oriented windowsill can help, but the result depends on the weather, shading of the window and the species. If seedlings lean, stretch and form thin stems, it’s worth quickly correcting the combination of light, temperature and spacing.
For artificial lighting, 14–16 hours of light a day is a commonly used starting point, with a period of darkness every night. But the duration doesn’t make up for a lamp that’s too weak or too far away.
The distance is set according to the lamp model and the manufacturer’s instructions. There’s no universal distance of 10 or 20 cm (4 or 8 in): a weak tube and a powerful panel have different needs. Raise the lamp as the plants grow and watch for signs of overheating or discoloration.
White light lets you see the color of the leaves, but the label “full spectrum” alone doesn’t guarantee enough intensity. Check the area the lamp can light effectively. A white board behind the tray can help spread the light, without replacing the main source.
A leggy seedling isn’t automatically lost. Correcting things early can improve new growth, although the part that has already stretched won’t get shorter. Very weak plants may be worth replacing with a new sowing.
Watering and preventing damping-off
Damping-off can cause quick losses: the stem thins or rots close to the mix, and the seedling collapses. Several pathogens, including fungi and water molds, can be involved. Too much water, poor drainage, crowding and conditions that slow growth all encourage the problem; it isn’t just a result of heat.
Keep the mix moist, not soggy. Germinating seeds shouldn’t be allowed to dry out, while seedlings that have grown can tolerate the surface drying slightly, without the whole root ball drying out. Check the moisture and the weight of the container rather than watering on a fixed schedule.
Ventilate and leave space between plants. A fan with a very gentle, indirect flow can help in a closed space, but it shouldn’t dry out the seedlings or flatten them. No number of hours replaces checking the actual conditions.
Remove affected seedlings along with a little of the mix around them, isolate the container and avoid sharing the same water between trays. Plants whose stem base is destroyed won’t recover. If losses continue, it’s safer to sow again in clean containers with fresh mix than to apply random treatments.
Pricking out without rushing
Pricking out means moving seedlings from the shared seed tray into individual containers. For many species, it’s done after the first true leaves appear, when the seedling can be handled. The seed leaves (cotyledons) are the embryo’s first leaves and don’t look the same on every plant.
Hold the seedling gently by a leaf; don’t squeeze the stem. Lift the roots with a stick or a teaspoon, keeping as much mix around them as possible. Make a hole the roots fit into without being forcibly bent.
In general, keep the original depth. Some species, like tomatoes, can be planted deeper, but that isn’t a universal fix for leggy seedlings. Plants that don’t tolerate root disturbance are best sown individually or directly where they’ll grow.
Water gently after moving and keep the seedlings out of strong sun until they recover. If the roots fill the pot completely before planting out, a slightly bigger container may be needed.
Feeding and pinching
Seeds have reserves for the start of growth. Once true leaves form, nutrient needs increase, but when to feed depends on the mix and the species. Check whether the mix already contains fertilizer and for how long it’s meant to support growth.
If needed, use a fertilizer suitable for seedlings, at the dose and interval given. Don’t turn a quarter-strength dilution or a weekly application into a rule for every product. Avoid feeding dry mix, and don’t try to make up for a lack of light with more fertilizer.
Pinching means removing the growing tip to encourage branching. It’s useful for certain species and varieties, once the plant has rooted and has enough foliage, but it can delay the first bloom. It isn’t done automatically on every seedling, or after the same number of leaves.
Hardening off before moving outside
A seedling grown indoors isn’t used to direct sun, wind and temperature swings. Hardening off prepares it for them gradually. Usually, set aside about one to two weeks, and extend the period if the weather turns bad.
Start with short spells outside, in a bright but shaded spot sheltered from wind. Gradually increase the time and exposure to sun, depending on how the plants react. Bring them in when temperatures are too low for the species.
No frost doesn’t mean every plant can stay outside overnight. Some tender species suffer even at low temperatures above freezing. Hardening off doesn’t turn a frost-tender plant into a hardy one.
Adjust watering to how much they use, without causing severe wilting. Avoid overfeeding, which encourages soft growth. A light breeze can be part of getting used to the outdoors; strong, cold gusts aren’t a useful exercise for seedlings.
Planting out
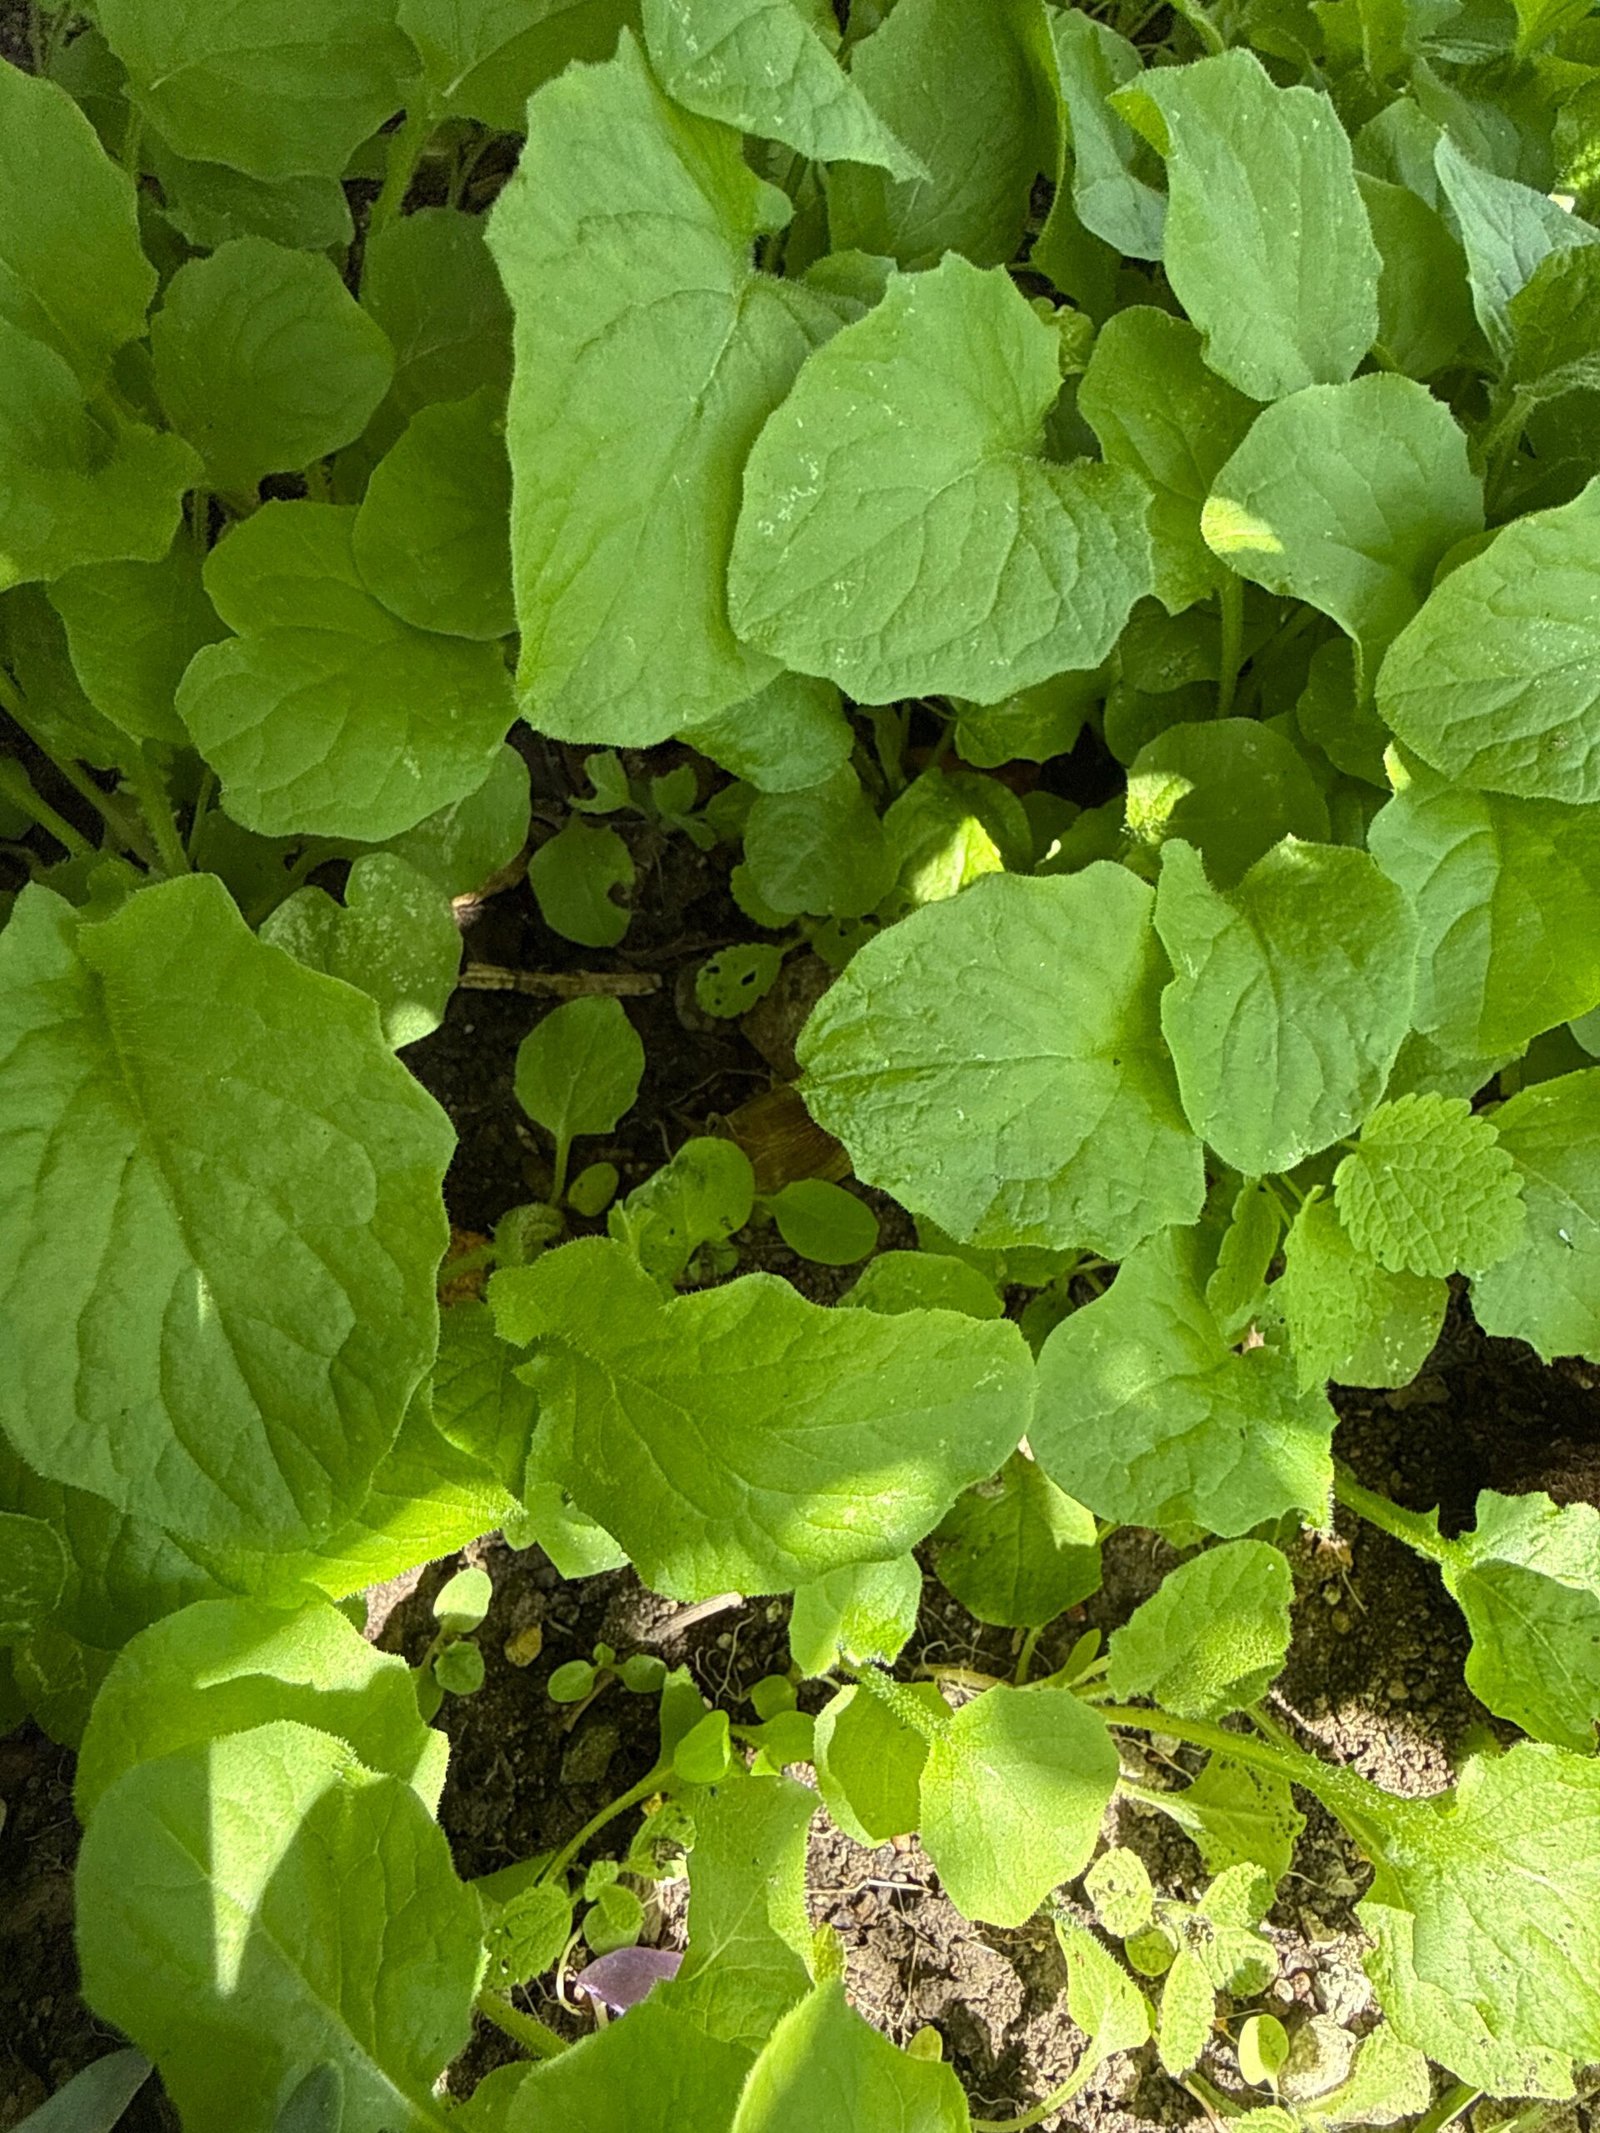
In the mountains, the weather keeps rewriting the calendar. For tender species, wait until the risk of frost has passed and the soil has warmed enough. In my garden, mid-May is a marker to watch, not a guarantee that every plant can go out.
If possible, choose a cloudy day or plant toward evening. Water the seedlings beforehand, prepare the holes and respect the spacing between plants. Water after planting so the soil settles around the roots, without puddling.
Keep suitable temporary protection on hand, but remember that frost cloth doesn’t offer unlimited protection against frost. Check the forecast and the temperatures where you’re actually planting.
Watch for slugs from the very first days and protect the plants without endangering children or pets. If you use control products, follow the authorized uses and the label. Mulch goes down without touching the stem; in cold, very wet soil, it may be better to hold off.
Fall sowing for next year
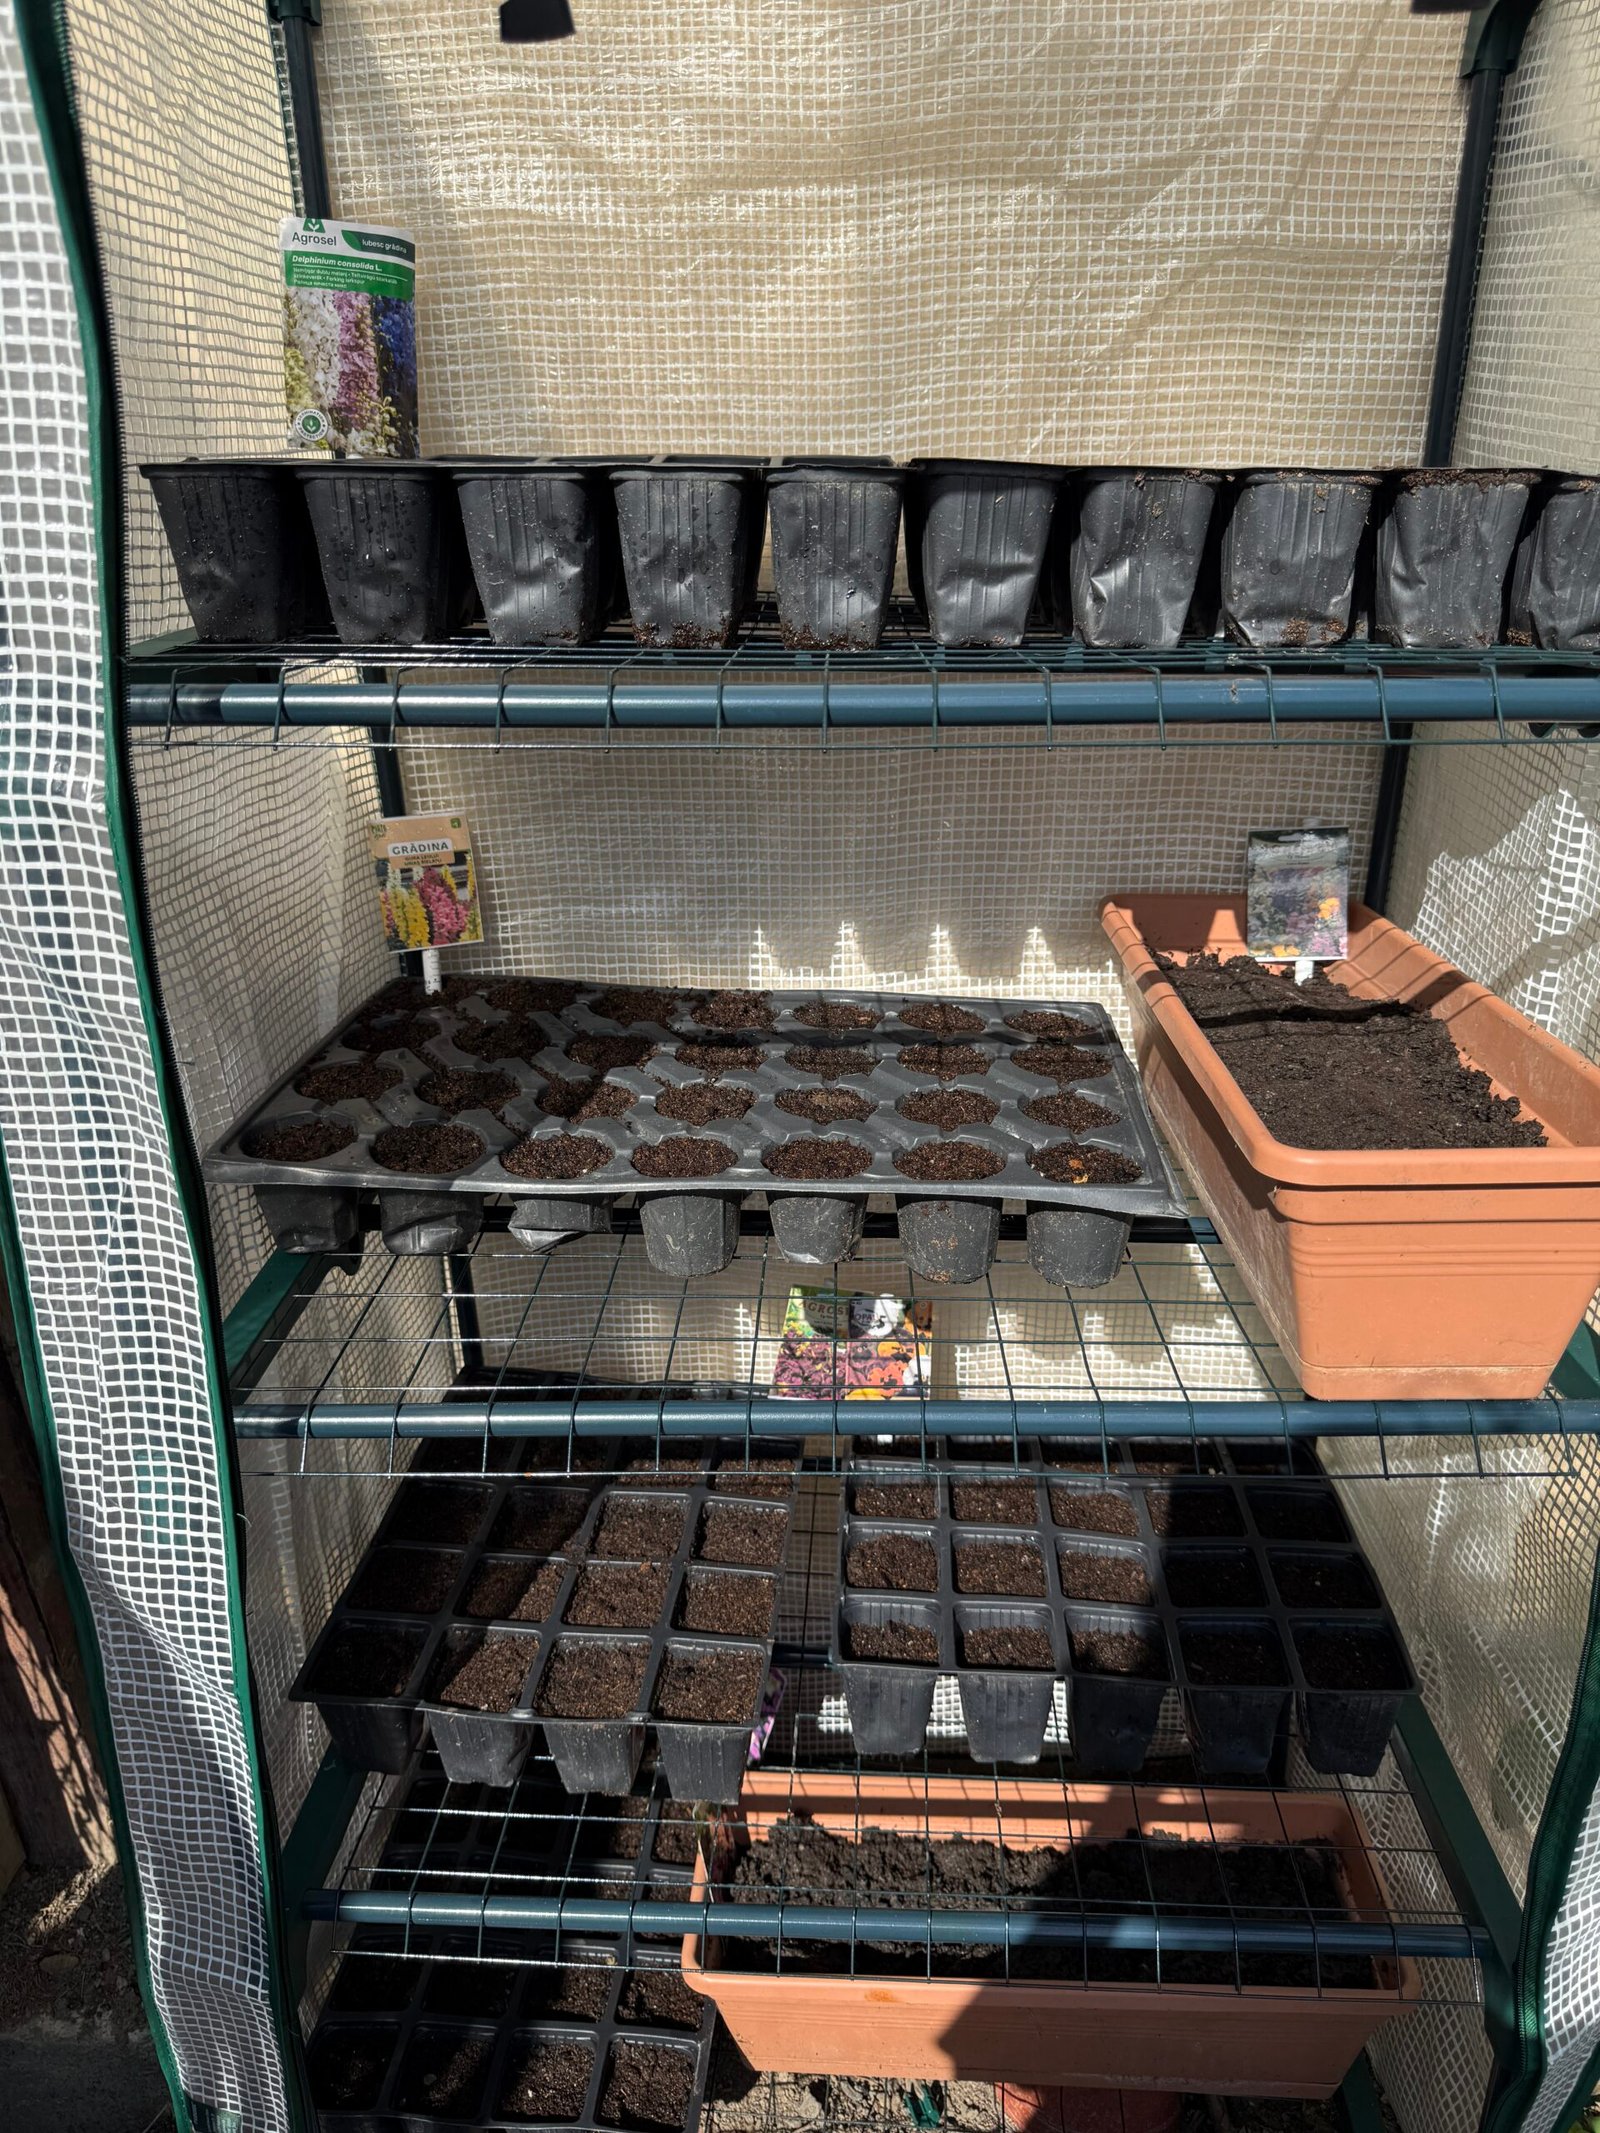
For some hardy flowers, biennials and perennials, late summer or fall can be good times to sow. Snapdragons can be started this way and overwintered under protection, but success depends on the variety and the conditions you provide.
In Bran, a cold frame or an unheated polytunnel isn’t automatically frost-free. The temperatures need checking, and the protection adapted to the plants. Seedlings in containers have their roots more exposed to cold than plants well established in the ground.
For plants that stay active over winter, look for a bright, cool spot within the range the species tolerates. Water moderately and check regularly; don’t let the mix stay wet all the time, or the roots dry out completely.
Some perennial seeds need cold stratification, a period of cold in moist conditions. Sowing outside can provide this stage, but the length and sequence of temperatures vary between species. Use drained, labeled containers, protected from animals and from rain that can wash the seeds away. Not all perennials have this requirement.
The mistakes I learned from
I sowed too early and ended up with plants waiting too long in containers. I kept the seedlings at about 26 °C (79 °F) after germination without taking light into account enough. I left the clear lid on the tray even after germination.
I watered from above with too strong a jet and lost seedlings to damping-off. Today I don’t blame it all on the direction of watering: too much water, the mix and ventilation have to be looked at together.
I sowed too thickly, out of a reflex not to waste seeds, and got seedlings that were hard to separate. I skipped hardening off and saw how hard it is for some seedlings to adapt. I forgot the labels and found out later that I had planted several rows of the same species.
Fewer trays, watched carefully, can give better results than a large number of seedlings without enough light or space.
What I gained by growing more plants from seedlings
The biggest gain was predictability. I see what comes up, I can spot a problem early and I can sow again if needed. The plants that go into the garden are ones I’ve already known for a few weeks.
Seedlings don’t guarantee blooms and don’t remove the weather risks, but for many of my flowers they give a better start. I keep direct sowing where it fits and leave room for plants that self-seed. Over time, the garden has shown me which method is worth repeating.
How do you start your garden?
Do you sow directly or grow seedlings? Have you found species that do well sown directly in a cold area? What change helped you when your seedlings weren’t developing as you hoped? Tell me in the comments.